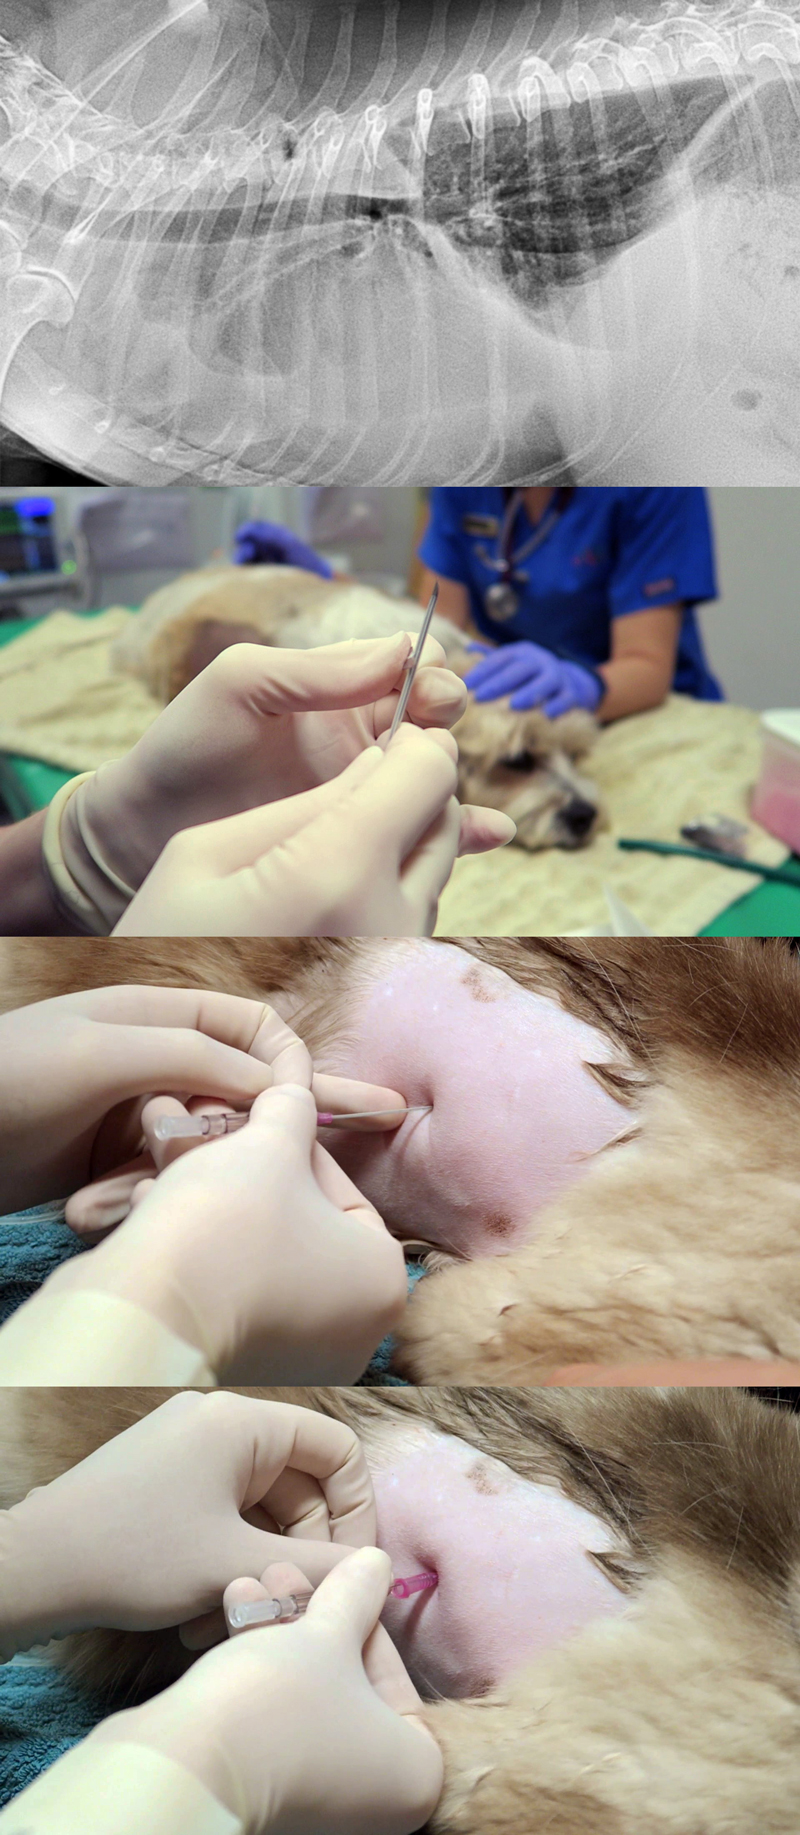
Thoracentesis is a relatively straightforward and life-saving technique for seriously dyspnoeic animals with pleural space disease, and is a valuable diagnostic tool.
Here are my tips for getting the most out of your approach to performing a thoracentesis.
Indications
- Therapeutic – relieve respiratory distress caused by pleural effusions and pneumothorax.
- Diagnostics – cytological examination of pleural effusions will refine your differentials list and dictate subsequent management.
Equipment required
In addition to general equipment for clipping and prepping of the surgical site, the following tools are required to perform thoracentesis:
- oxygen and mask
- 20ml to 60ml syringe
- 16G to 21G butterfly needle
- three-way tap
- extension set
- ethylenediaminetetraacetic acid tubes (for cell counts)
- sterile collection tubes (for culture and cytology)
- fluid collection bowl (non-sterile collection)
- +/- lidocaine 1mg/kg to 2mg/kg for centesis site
Protocol
1. Patient comfort

a. Options include local anaesthetic infiltration of the intended centesis site, and/or IM or IV opioid pain relief at standard doses.
b. Opioid pain relief, such as butorphanol, is great for sedation that facilitates the process.
c. Depending on the case, I often use opioid pain relief without local. This is sufficient in the vast majority of cases.
d. If severely dyspnoeic, anaesthesia and intubation can help facilitate the process. It will reduce patient stress, enable manual ventilation and administration of 100% oxygen, and allow for larger volumes of air/fluid to be removed.
2. Patient positioning
Generally, sternal is easiest – otherwise, lateral recumbency or standing (if the animal will tolerate it).
3. Site
a. Locate the seventh to ninth intercostal spaces.
b. To remove air, clip the dorsal two-thirds of the chest.
c. To remove fluid, clip the ventral two-thirds of the chest.
d. Clip a larger area than you expect.
e. Prepare the area for an aseptic procedure.
4. Connect everything
a. The syringe to the three-tap and extension set should be ready prior to connecting the butterfly catheter.
b. Often, a rush occurs to connect everything after the catheter is in place.
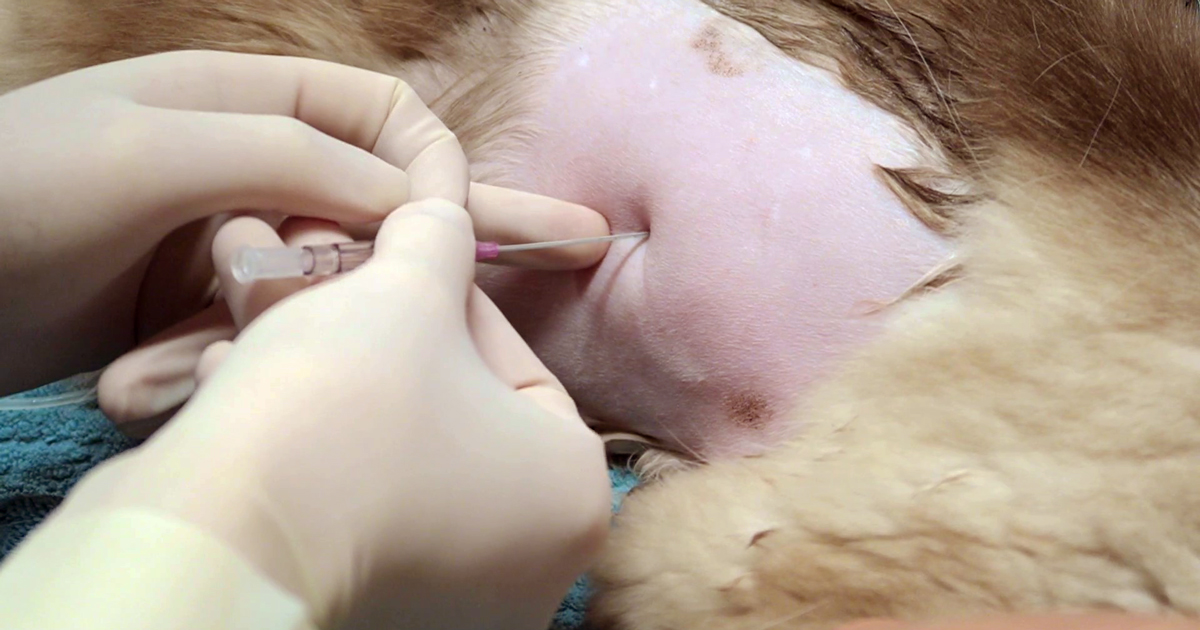
5. Needle insertion
a. Insert the needle on the cranial edge of the rib to avoid the nerves and blood vessels that run along the back of the rib.
b. Ultrasound guided is best for fluid; you can lube the inside of a sterile glove and put the probe inside the glove to keep the area sterile.
c. An IV catheter can also be used. I partially fenestrate a 20g IV catheter with two extra holes – once the catheter is advanced into the chest minimal risk exists of trauma to the lungs, and larger volumes of fluid and air can be removed.
6. After insertion
a. Once through the skin, connect to the extension set and apply gentle negative pressure. This can help determine how far you need to advance the needle into the chest.
b. Sometimes a small syringe, such as 10ml, is better for smaller volumes as it creates less negative pressure. Pulse the negative pressure.
7. Collect samples
Make sure you collect the required samples from the first collection, as this is often the best sample and means you don’t forget.
Overall, if you feel it is necessary to perform an emergency thoracentesis then do not delay. Most animals will tolerate the procedure well and have immediate dramatic improvements in respiratory rate, effort and oxygen saturations – all great outcomes for any dyspnoeic patient.
Next week, we will look at what to do with the collected sample.

Leave a Reply