One of my responsibilities in our emergency hospital is the training and mentoring of vets new to the field of emergency and critical care.

A common area I have found where clinicians request more training is radiographic interpretation.
When I review radiographs and find pathology that was missed, it Is more often due to a lack of systematic approach to reviewing the radiograph than the clinician’s lack of experience or knowledge.
There is, of course, no one set way you should go about interpreting a radiograph – but whatever the method, the entire radiograph should be assessed, not just the area of interest.
Radiograph tips
- Try not to struggle with your patient. If possible, appropriately sedate your patient (or anaesthetise if safe to do so). This reduces stress for everyone involved and improves your chance of getting a good radiograph. For musculoskeletal radiographs, you often need to manipulate painful joints and limbs to get diagnostic images.
- Take appropriate views. For example, I aim to get three plane projections for thorax and abdominal radiographs – i.e. left and right laterals and VD (or DV). Three views are critical for the assessment of both lung fields, and also to help interpret abdominal gas patterns more effectively.
- Collimate, rotate, crop, label and adjust the image appropriately. Displaying radiographs in a standardised format is important for proper assessment. Reviewing anatomy in the same way each time helps develop an understanding of what is normal, and makes identifying abnormalities easier.
- This is my top rule: At first, IGNORE the area you are interested in. This means, if you are interested in looking at the GI tract in a vomiting dog, try not to focus – albeit initially – on the stomach and intestines on your radiograph.
- Start at the periphery. This means things like the spine, subcutaneous tissue, etc – you would be surprised how often lesions are missed in these areas.
-

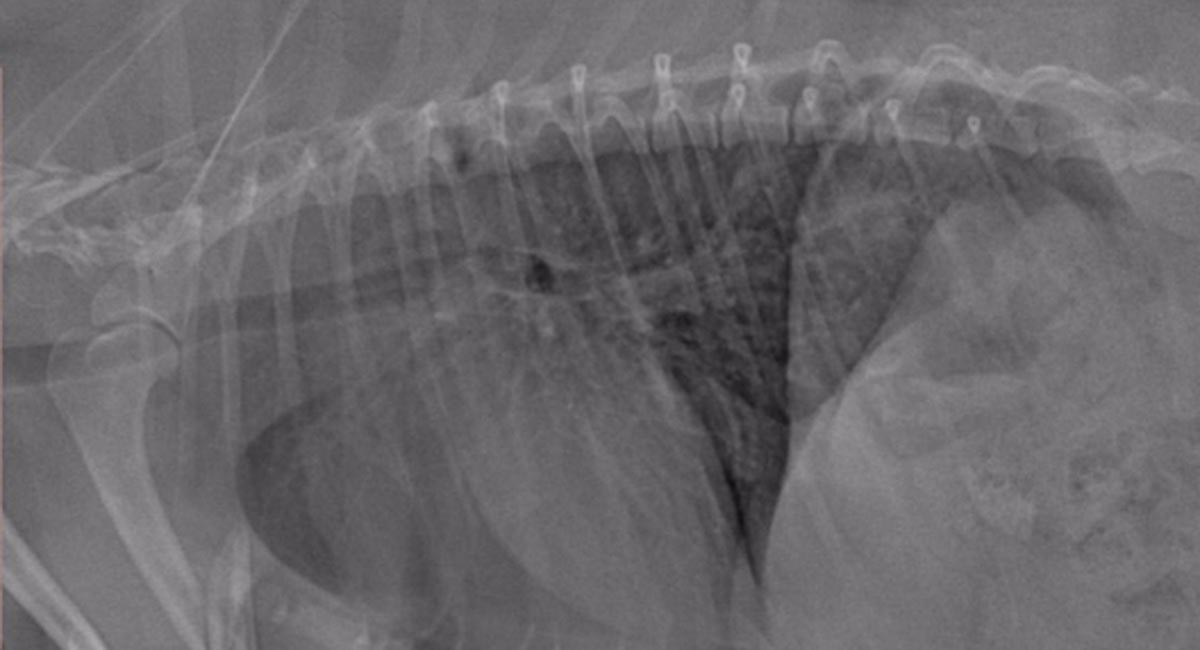
SECOND LOOK: This fracture was missed on initial review of the radiographs (click to reveal). Now take a look at the cavity space (the pleural and abdominal space, for example). You should not be able to see the pleural space, and you should see no evidence of air or fluid in the abdominal space. When it comes to musculoskeletal radiographs, don’t forget to consider joint cavities and soft tissue structures such as ligaments and tendons.
- Lastly, make sure you assess every organ (again leaving your organ of interest until last). Things often overlooked include the prostate, kidneys and mediastinal region. At the end of this, I always ask myself, have I missed an organ?
Tunnel vision
Another thing I like to do sometimes is take a step back and assess the radiograph again. I find this gives a better global view of the projection, as opposed to staring at it closely.
This is because when we focus on our area of interest, we start developing the habit of tunnel vision, introducing the potential for missing lesions.

Leave a Reply