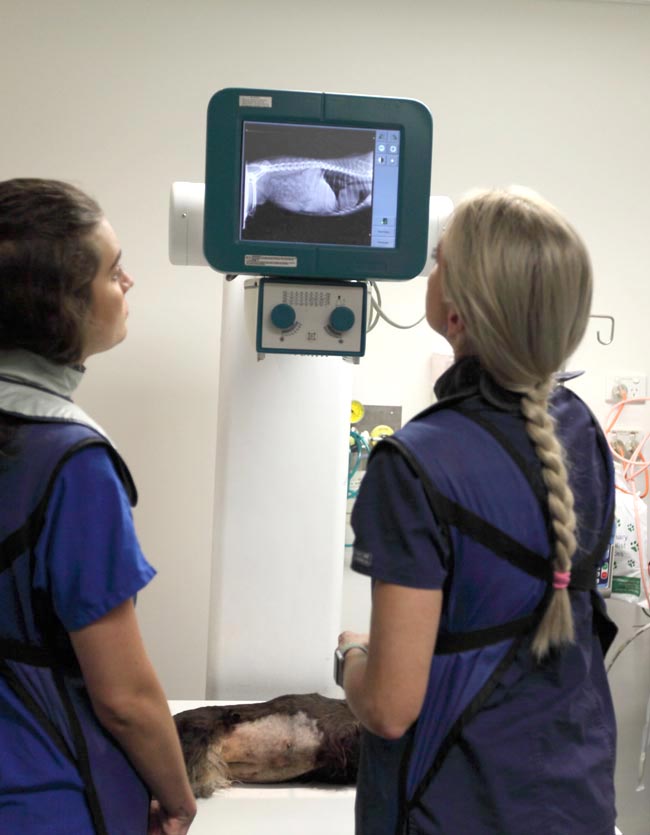
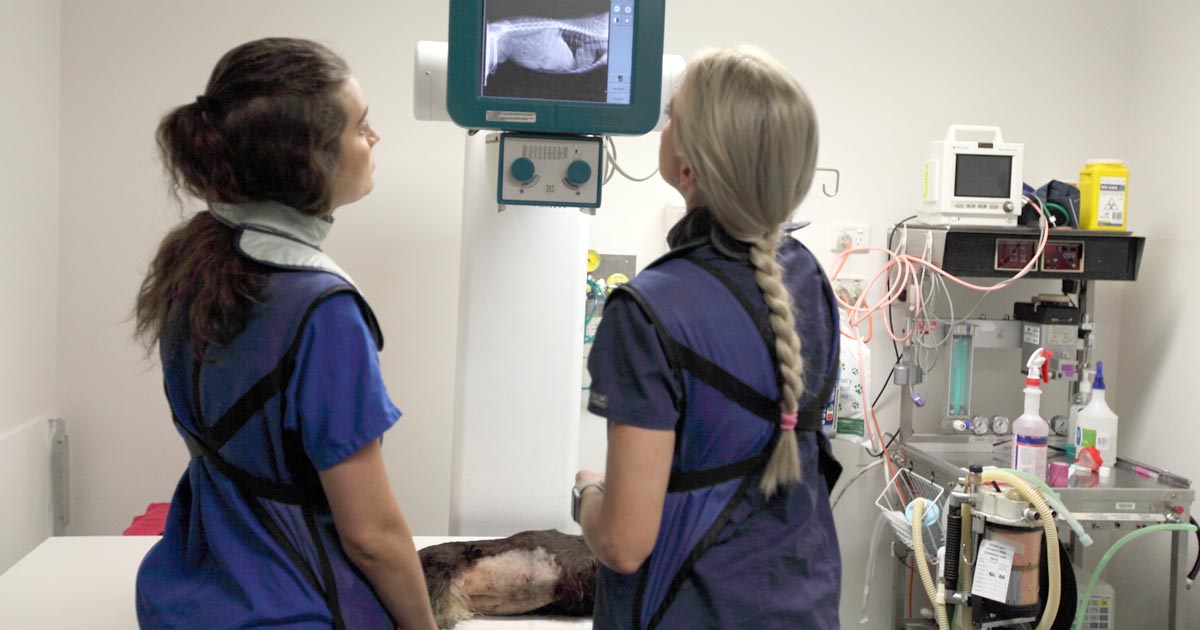
Abdominal radiographs can be daunting, but here are six tips to help you get the most information from your studies.
1. Patient preparation
Have the patient prepared as best as possible, have them dry – as wet hair shows up on x-rays – and appropriately sedated, or anaesthetised if needed, to minimise the amount of radiation exposure to you and your staff.

2. Adjust according to depth
Adjust the settings based on the depth. The cranial abdomen is often wider and deeper than the caudal abdomen, so adjust the settings as appropriate. This will help make sure the areas of interest are appropriately exposed. Otherwise, the cranial abdomen is often underexposed and the mid-abdominal region overexposed.
3. Expiration
Take radiographs on expiration. This is the longest pause and will reduce motion artefact.
4. Minimum two views
Routine abdominal studies vary, but at a minimum I perform two views – lateral and ventrodorsal (VD).
5. Three views for gastrointestinal tract
If I am assessing the gastrointestinal tract then I take three views: left and right lateral, and a VD view.
Why three views? Gas floats and fluid sinks, so the gas patterns change and provide valuable information. For example – on the right lateral view, gas moves into the fundus and fluid moves into the pylorus, so it looks like a soft tissue mass or foreign body.
6. Image the entire abdomen
If the patient is larger, I may take two or three images per view to make sure I image the entire abdomen. I make sure I image the entire abdomen from diaphragm to pelvis if the patient is large by dividing it into segments – cranial abdomen and caudal abdomen; sometimes cranial, mid-abdominal and caudal. This may mean standard two views turns into cranial and caudal VD and lateral views.
- Next week’s tips will deal with the interpretation of abdominal radiographs.

Leave a Reply